Swarf Diablo Pro System
Swarf Diablo Pro System
Couldn't load pickup availability
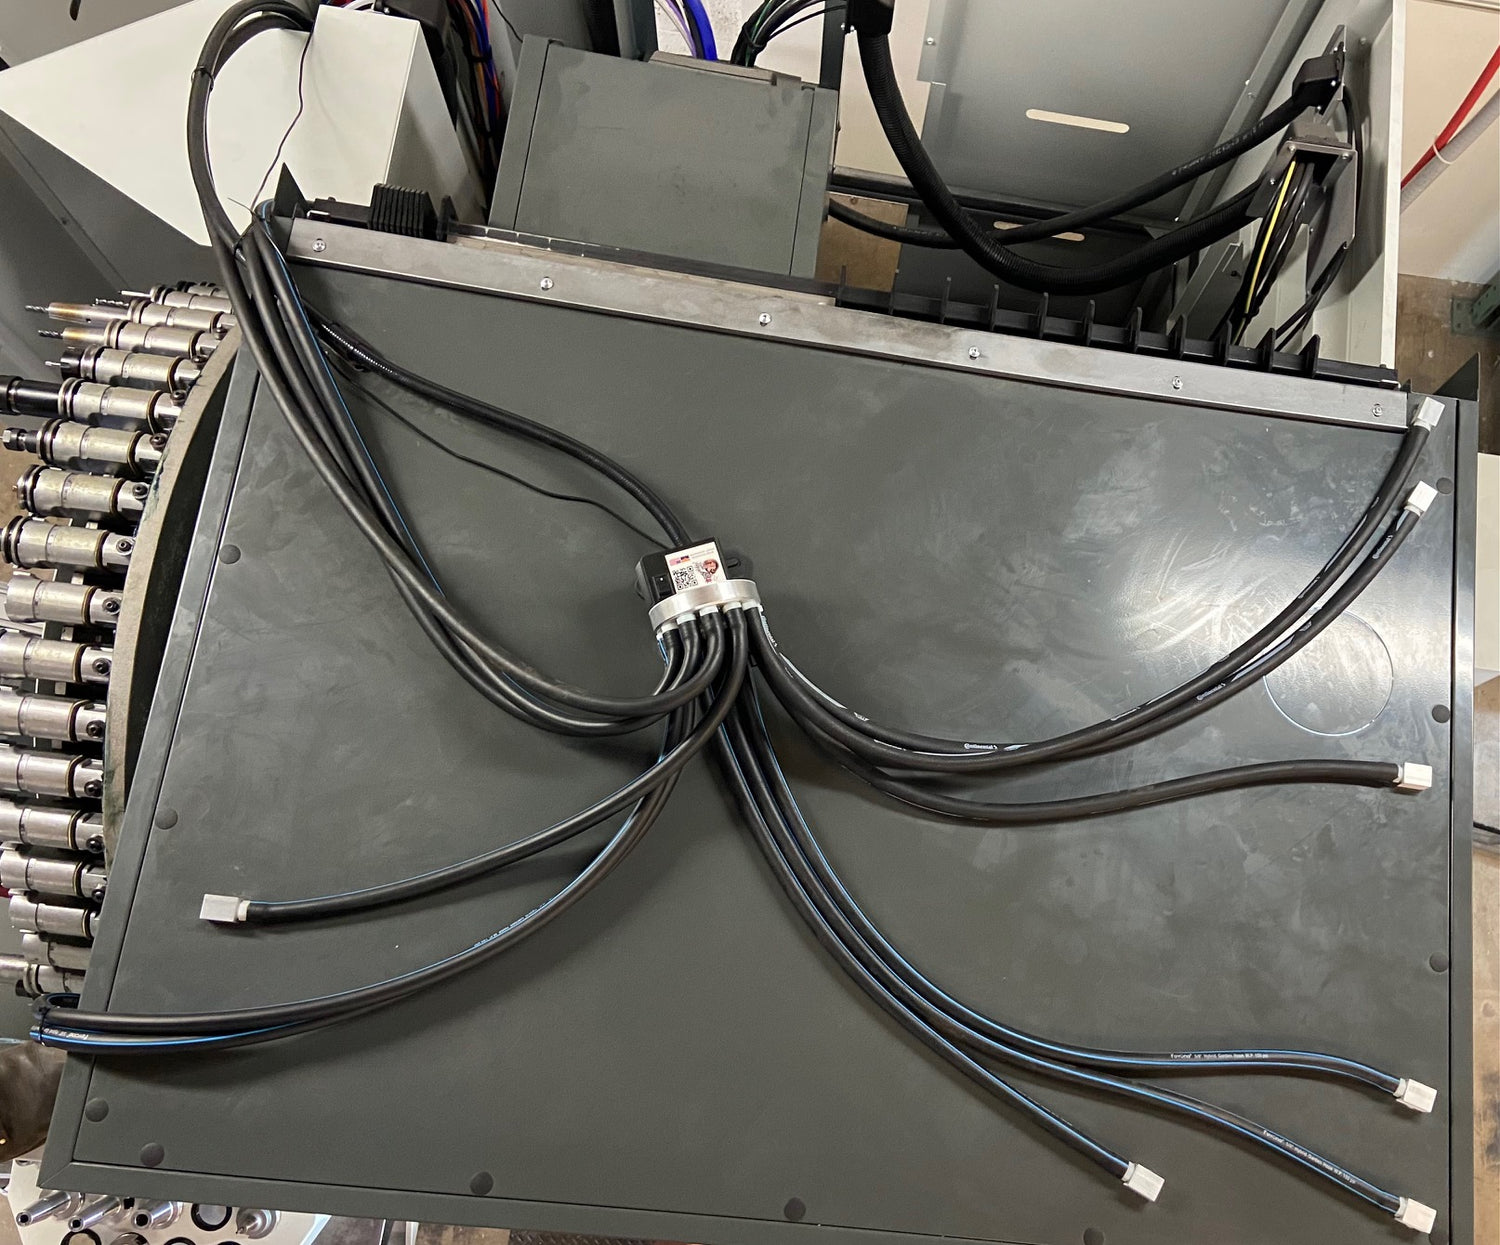
This kit is a complete solution to automating the washdown of your CNC machine. The system works by maximizing the potential of your machine's existing coolant pump by individually cycling its flow through twelve outputs. The result of this process is high-pressure, high-volume flow exactly where your machine needs it most. The Swarf Diablo utilizes lean manufacturing principles surrounding wasted motion, standardization, waiting, misused brainpower, effectively making your shop a better place to do work.
Core benefits of this system include:
- Eliminating human tasks, fatigue, and risk of injury
- Preventing machine damage caused by chip buildup that obstructs machine motion
- Extending unattended machine operation (lights out production capabilities)
Hardware included with our Swarf Diablo Pro System:
- (1) Main Valve Body - This core component controls the coolant flow path using a geared 12V DC motor and a rotating aluminum valve. This assembly uses O-rings to completely seal the unit from leaking and can mount to any steel surface with its magnetic feet. The magnets are strong enough to allow for mounting on a vertical wall or even upside-down. Simply adjust the Loc-Line nozzles to spray up to 12 areas of the enclosure to keep your machine clean.
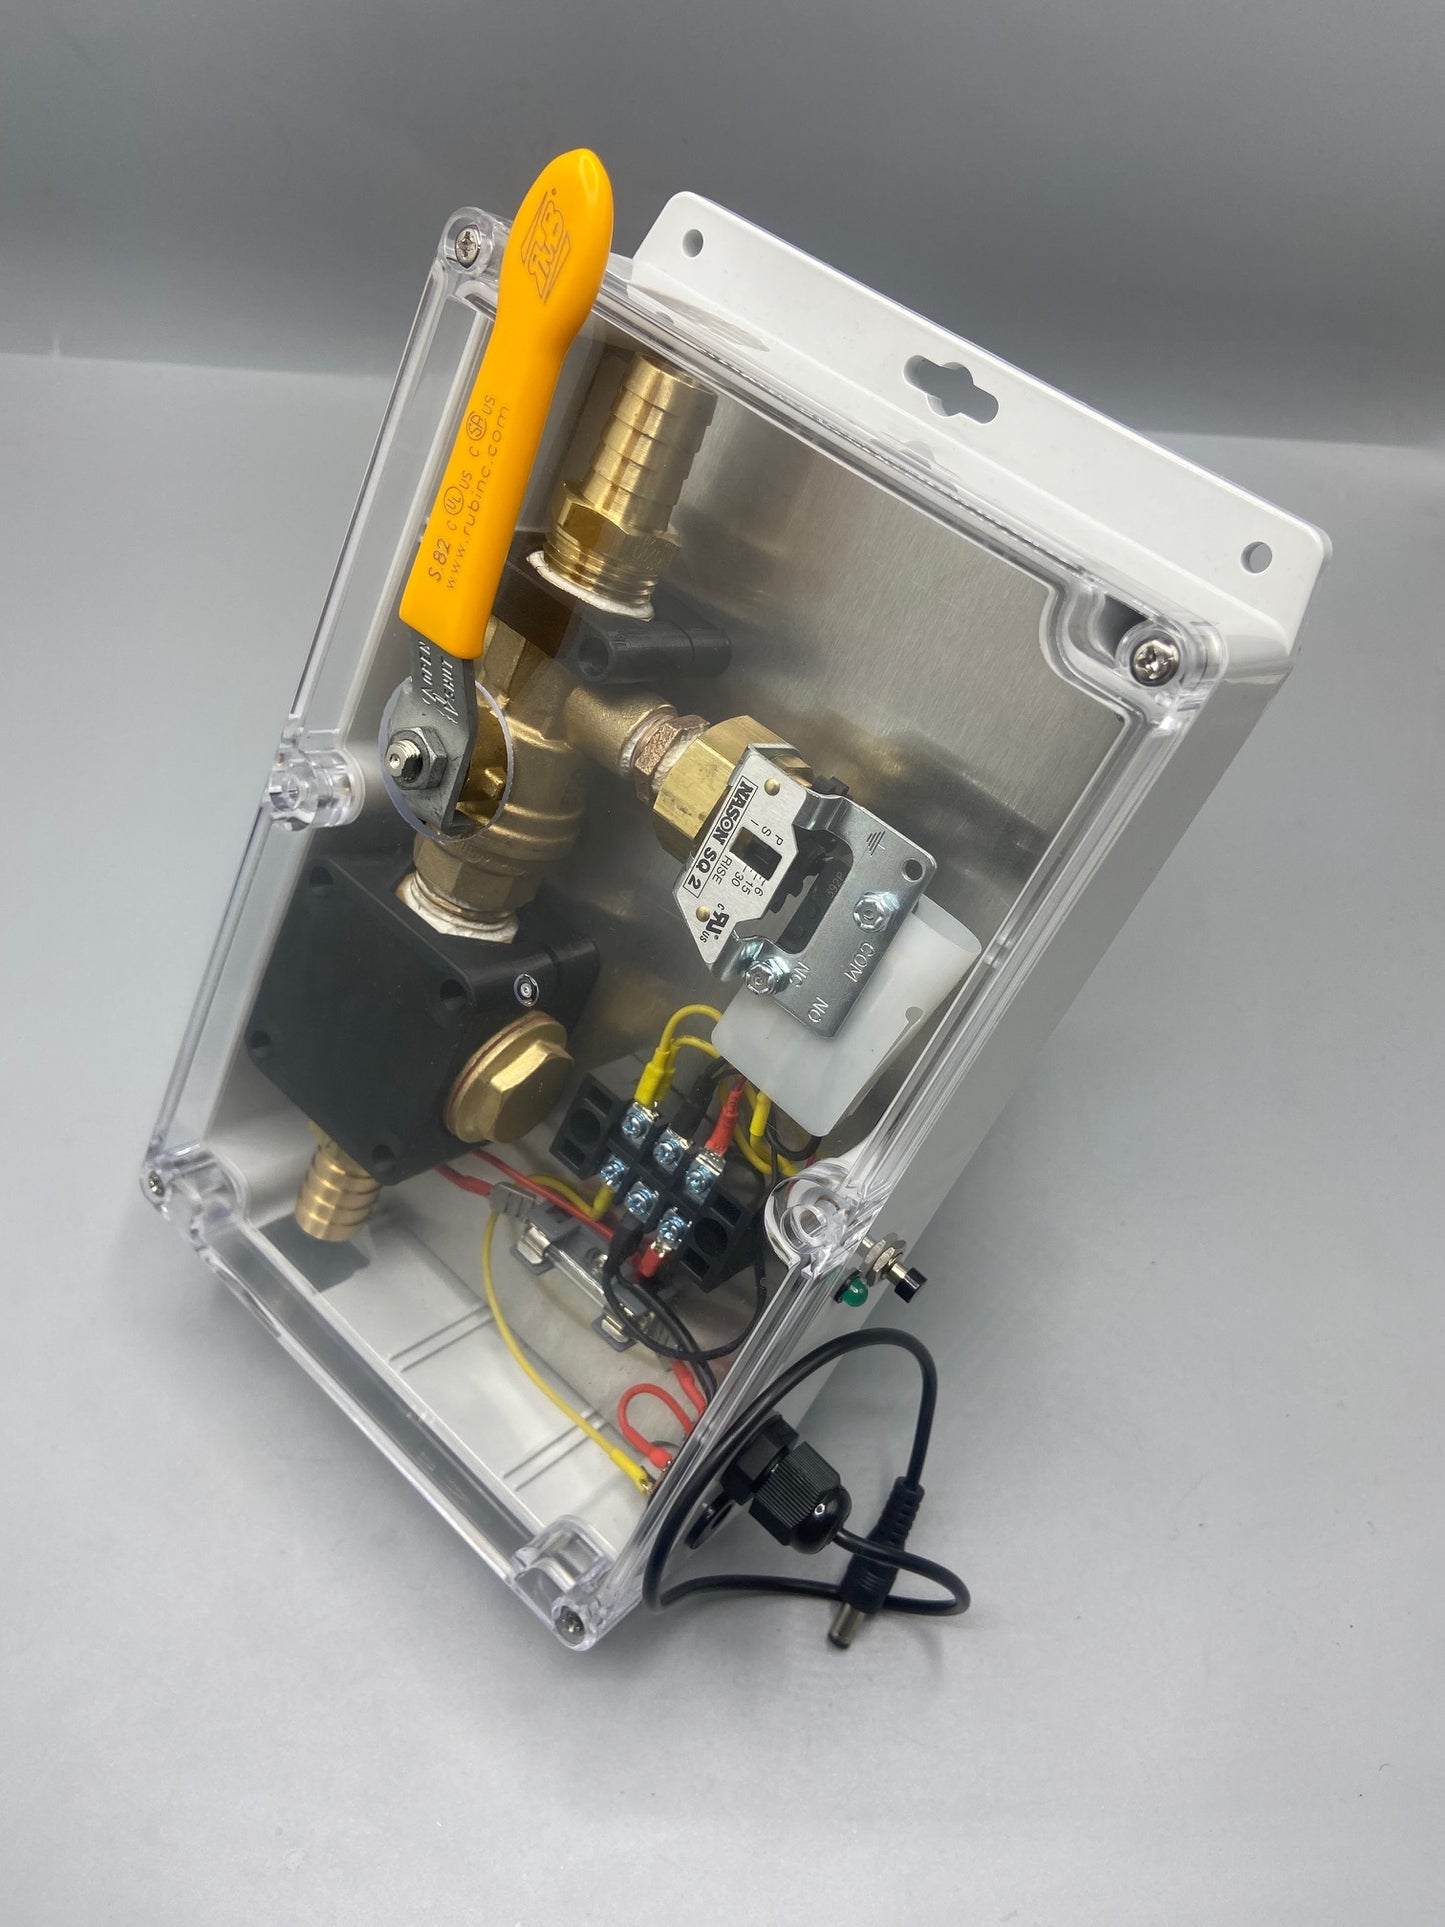
- (1) Control Box - This assembly serves multiple purposes. The main purpose is to detect coolant flow and use this to turn the motor on and off automatically. It does this using an off-the-shelf pressure switch which can also be temporarily bypassed with a momentary switch for testing purposes. There is an LED to indicate if the motor is receiving power. This assembly also includes a 1/2" NPT ball valve which gives the ability to shut off the entire system for any reason. Also included is a backflow prevention fitting which prevents gravity from draining coolant back to the sump when the pump is turned off. The control box comes with 5 feet of 5/8" ID black polyurethane hose at the inlet and 28 feet at the outlet, providing more than enough length for even the largest CNC enclosures.
- (6) Hose Wall Mounts - These machined aluminum components are used to properly route the 5/8" ID hose around your machine. They attach to the hoses with zip ties and mount to the wall with magnets, all of which is included.
- (2) 90 Degree Fittings - These plastic fittings allow for hose routing to easily pass-through sheet metal in a perpendicular fashion. This reduces hose kinking and gives the ability to cleanly route all horizontally oriented hoses on the roof of your machine rather than inside. These are meant to pass through 1" holes in sheet metal and includes rubber grommets to hide any burrs from the drilling process. These fittings are not required if you are able to find a convenient location to route the hose from outside the enclosure to inside.
Please do not hesitate to reach out to us directly for questions on this product. We look forward to working with you.
Stop cleaning. Start machining.
Shipping
Shipping
Free shipping on carts over $100


Designed for ease of install
Follow along with our YouTube channel for more information regarding install procedures, operations, and tips/tricks.


